
OpenCart Backend Overview
After that, you finally see the main dashboard for the first time.
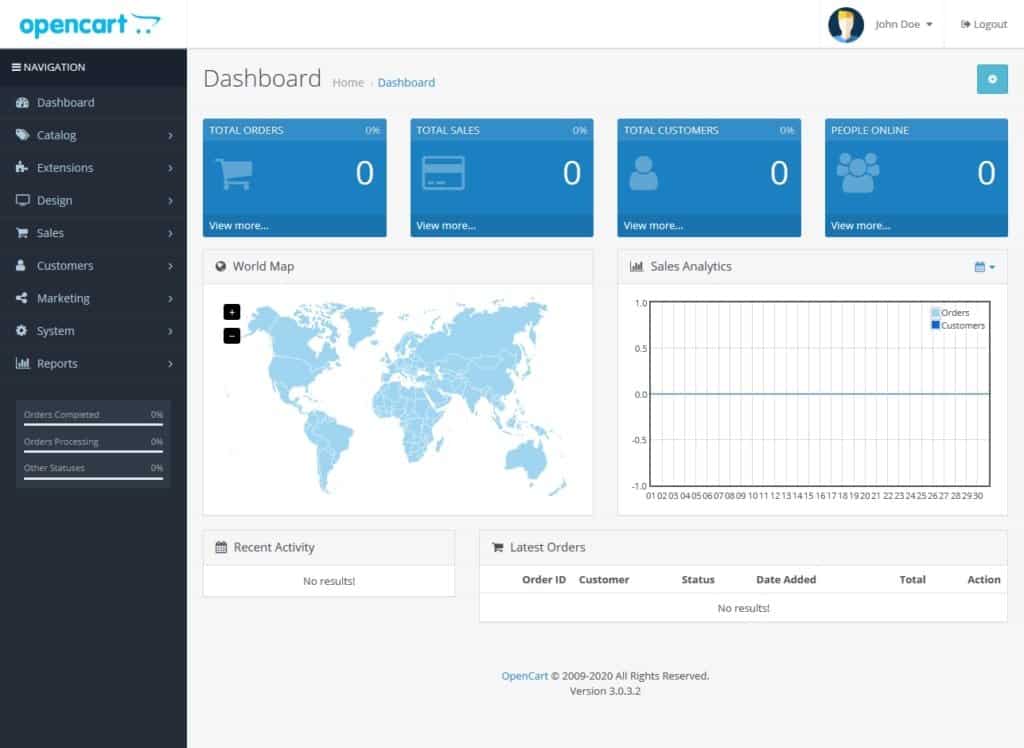
It’s pretty easy to understand. On the left side, you have the main navigation, giving you access to all the main parts of your online shop:
- Dashboard — Takes you back to the main dashboard, which you are seeing right now.
- Catalog — This is where you do everything related to products, such as creating them, assigning them to categories, and adding additional information.
- Extensions — The place to install extensions that add more functionality to your shop.
- Design — Change page layouts, edit your theme, languages, banners, and SEO URLs here.
- Sales — Manage your sales, returns, gift vouchers, and more.
- Customers — Here’s where you take care of everything related to customers, including grouping them.
- Marketing — Find marketing tools like campaign tracking, coupons, and email marketing in this place.
- System — Shop settings, user management, localization options, and maintenance.
- Reports — Detailed reports on how your shop is faring and what is currently happening on it.
We will get into all of these in detail further below.
Getting to Know the Dashboard
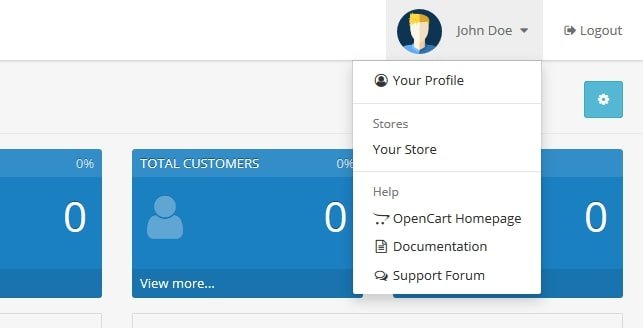
In the upper right corner, you can configure your profile by clicking on the temporary name and then Your Profile. The drop-down menu also contains some helpful links to the OpenCart homepage, documentation, and support forum.
The most important part, however, is the shop overview dead center. Once you are actively selling, here is where you will see your orders, sales, customers, and current visitors. A click on View More… takes you to a more detailed report for each of them.
There is also a world map that shows where orders are coming from, sales analytics (change the time frame via the calendar icon), the recent activity of customers in your shop, and the latest orders.
In short, this page keeps you informed on the status of your OpenCart shop at one glance whenever you log in.
Creating Products With OpenCart
Of course, for an online shop, the most central functionality is to create products. Therefore, that’s what we will look at next in our OpenCart tutorial.
1. Create a New Product
You find all the products on your site under Catalog > Products. When you go there now, you can see that the shop already has some example products on the list.
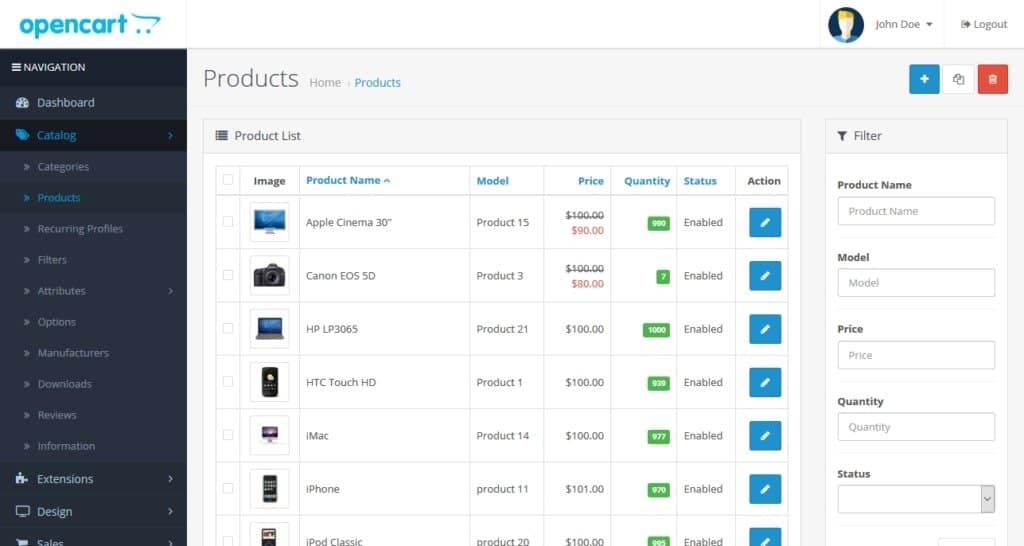
Use the filter options on the right to find a particular one (or several). To remove any, simply check the tiny box on the left and click the red button with the trash can icon in the upper right corner. This is also where we can duplicate existing products.
However, in this case, we want to create a new product, which we can do by clicking on the blue button with the plus symbol. This lands us on the screen below:
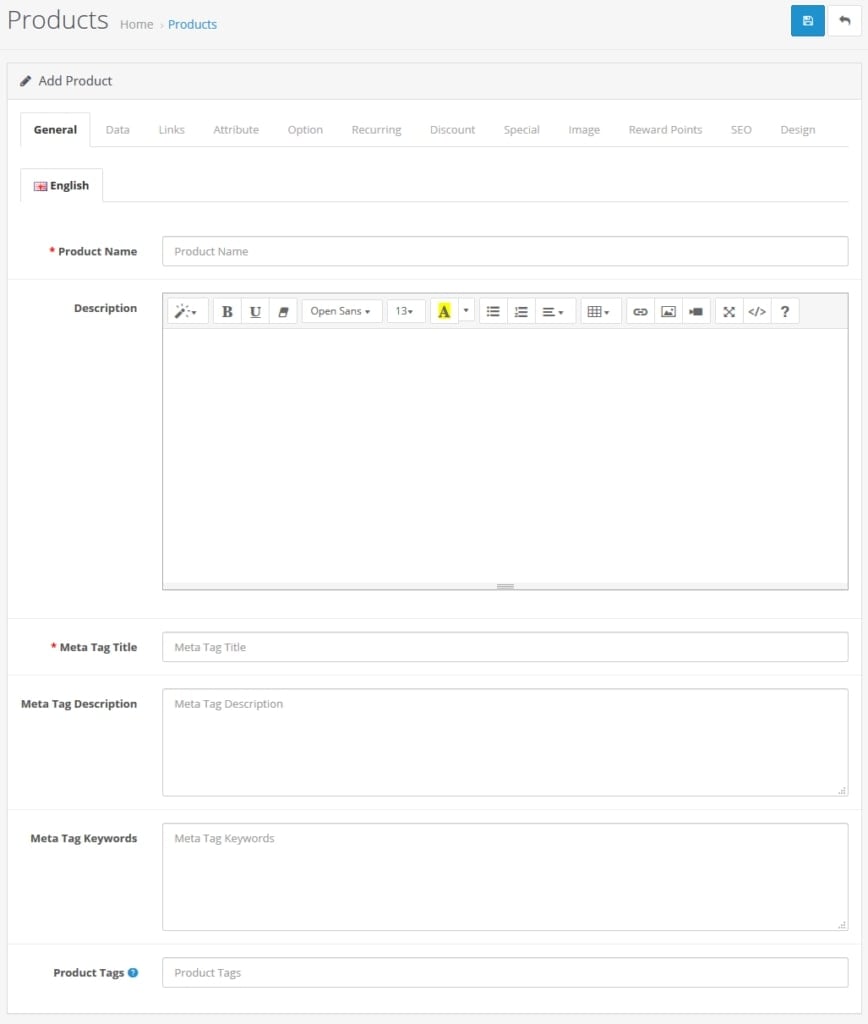
If you have ever worked with a CMS before, this should all look pretty familiar. Start by entering a product name and description. You can use formatting options for the latter and even input multimedia like images and videos.
Below are the SEO settings. Here, you can set a separate title that will appear in search engines as well as a meta description that will show up below it.
You can forget about meta keywords, these are no longer in use.
Further down, product tags are keywords that, when customers input them into the shop’s search bar, make products show up. Therefore, it’s helpful to include some to make finding products easier.
2. Configure Product Data
After that, it’s time to click yourself through the other tabs. In the Data section, you configure all the information customers will see on the product page.
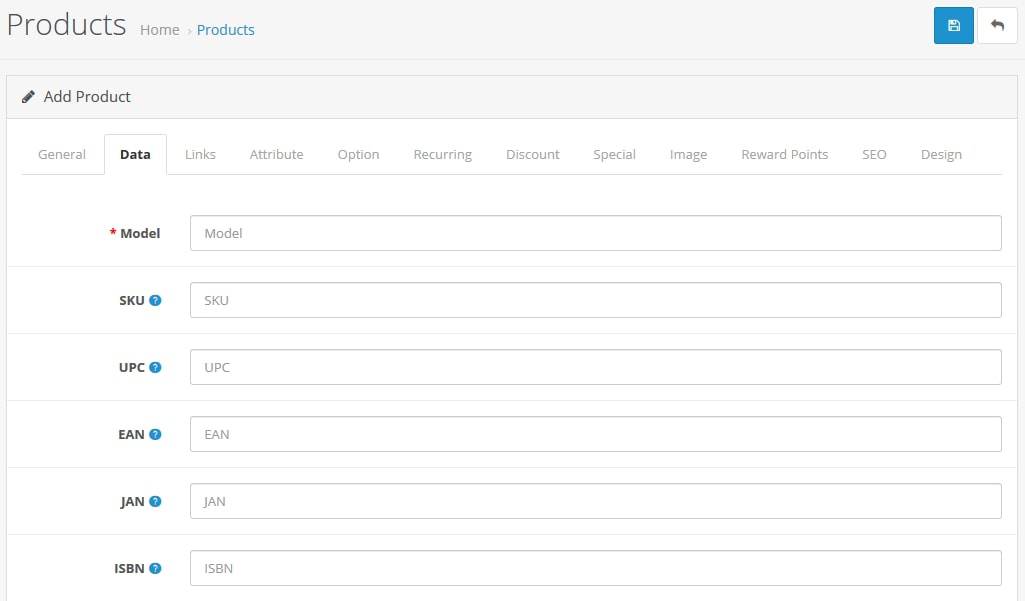
Here’s what it all means:
- Model — Insert a model number for the product. It must be made up of letters and numbers and is required.
- SKU, UPC, EAN, JAN, ISBN, MPN — These are different tracking numbers for products that you may or may not have or need.
- Location — Where your product is located (in case you have several store locations).
- Tax Class — Configures the product’s tax class.
- Quantity, Minimum Quantity, Subtract Stock, Out of Stock Status — Here you set how many of these products you have available, how many a customer must buy at least, whether OpenCart should count down their number, and what message to display for out-of-stock wares.
- Shipping — Whether this product needs shipping as well as its dimensions and weight to calculate shipping costs.
- Date Available — When the product will be available.
- Status — Enable and disable the product from showing up on the store frontend.
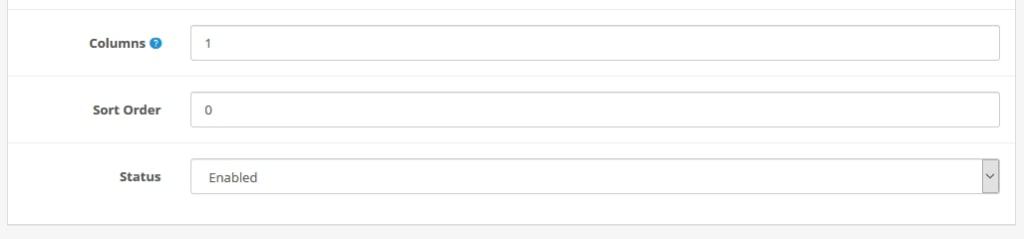
- Sort Order — The priority of the product when showing up in a list.
3. Set Up Links
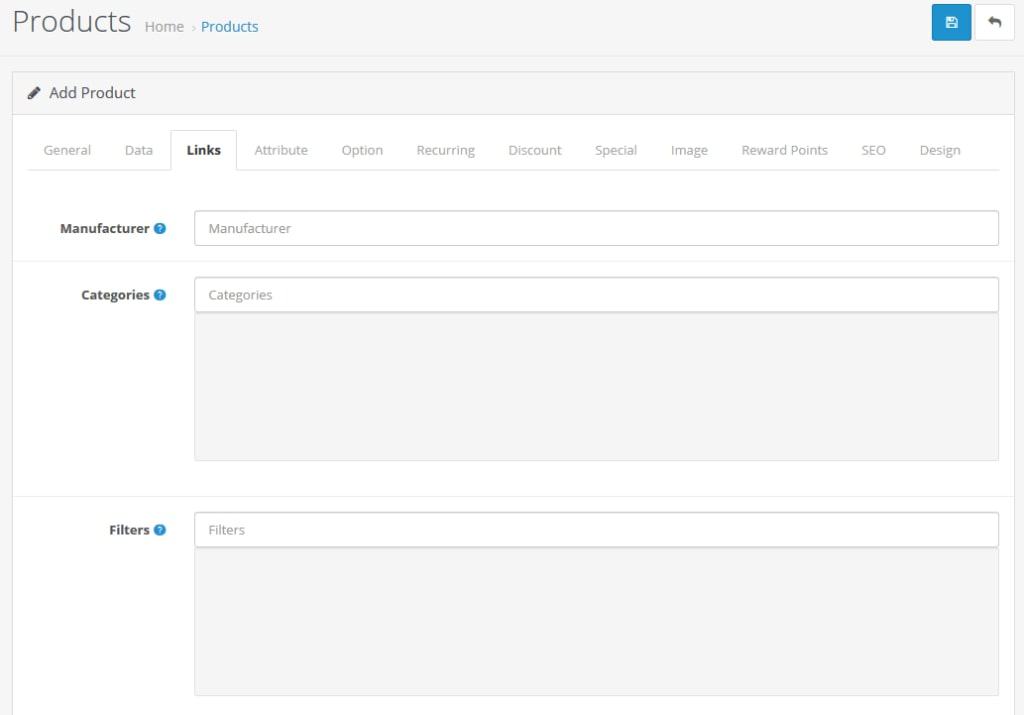
Everything here determines where in your shop this product will appear and also give visitors ways to filter what you are selling:
- Manufacturer — If you sell products from certain manufacturers (say Apple or Samsung), including them here allows customers to look for them by brand.
- Categories — Adding categories makes products filterable and easier to sort and find.
- Filters — Filters can be things like colors or sizes enabling users to, for example, only look for red products.
- Stores — If you have several stores, you can determine here in which location the product is available.
- Downloads — If it’s a downloadable product, here is where you add the file that customers will receive after purchase.
- Related Products — Add related products here so they show up on the product page.
4. Add Attributes
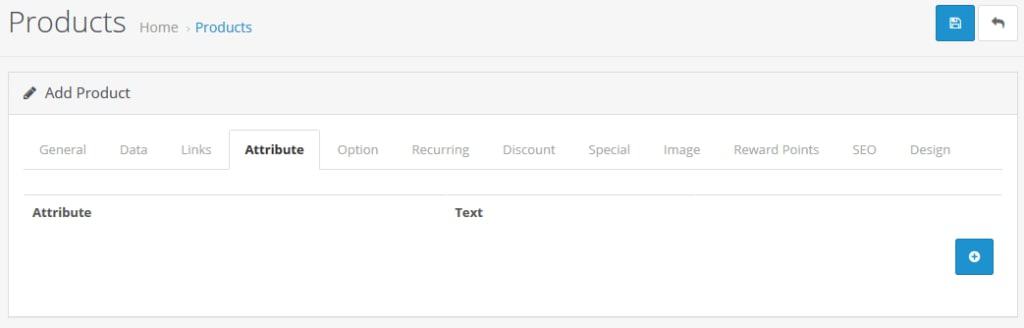
This menu is empty by default but lets you create product attributes. This can be something like screen size, processor type, or operating system. However, not stuff like clothes size or color. For that, check the next point.
Click the plus icon to add some. You can also control this under Catalog > Attributes. More information here.
5. Make More Options
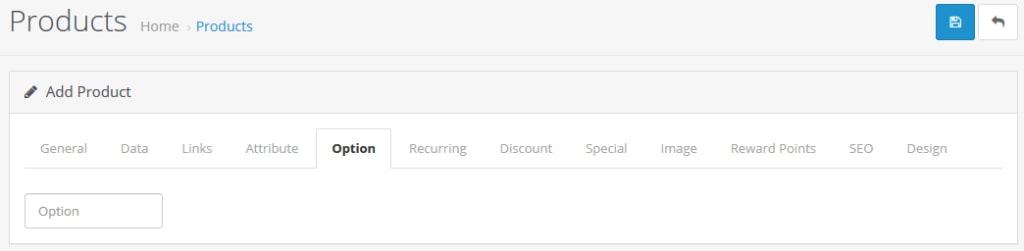
Here’s where you add product options such as different sizes or colors. You can also set these up under Catalog > Options and then assign them here.
6. Configure Recurring Payments
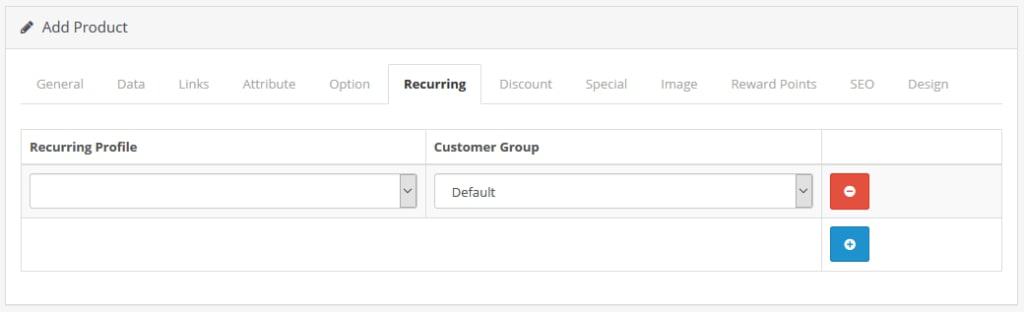
If a product comes with recurring payment (such as a subscription), here’s where you set it up. Click the plus icon then choose an existing recurring profile and customer group from the drop-down menu. More information on how to set up recurring profiles on this page.
7. Allow Discounts and Specials
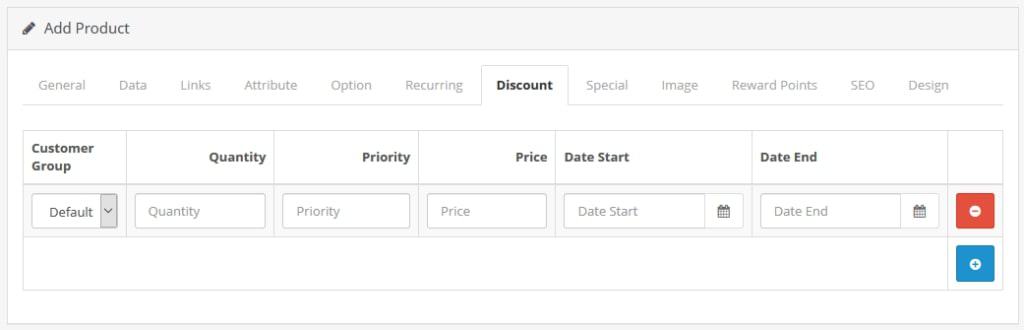
In the next menus, you can set up price reductions for customers. This can either be in the form of discounts (for example, for a group like newsletter subscribers) or specials (such as a holiday sale). You can define which customer group these should apply to, for how many products, start and end date, and more.
8. Don’t Forget About Images
Image is an important setting because here you define the visuals your customers will see of the product.
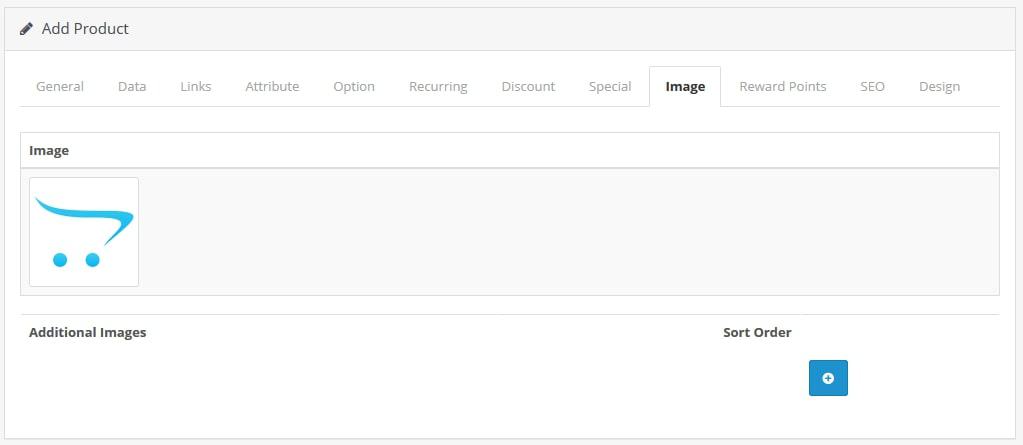
At the top, you see the main image that will show up in the shop. Currently, it’s just a placeholder. Click it and pick the pen symbol to edit. You can then choose from your image library or upload a new one.
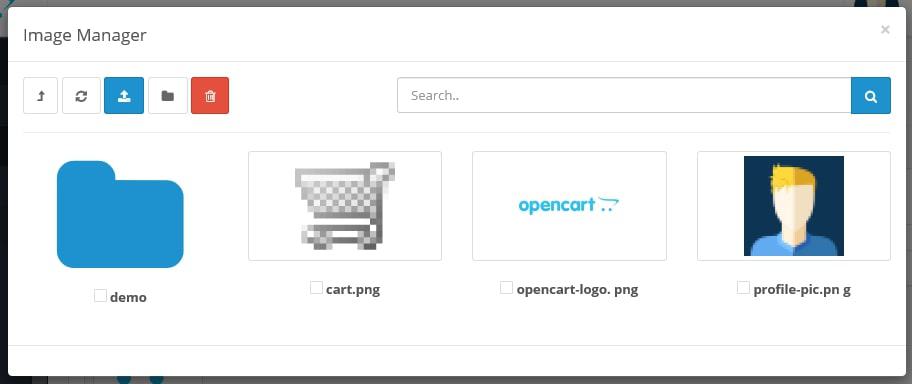
At the bottom, you can add more images that will show up further below on the product page. When you include them, set numbers for Sort Order to determine the sequence they show up in.
9. Consider Reward Points
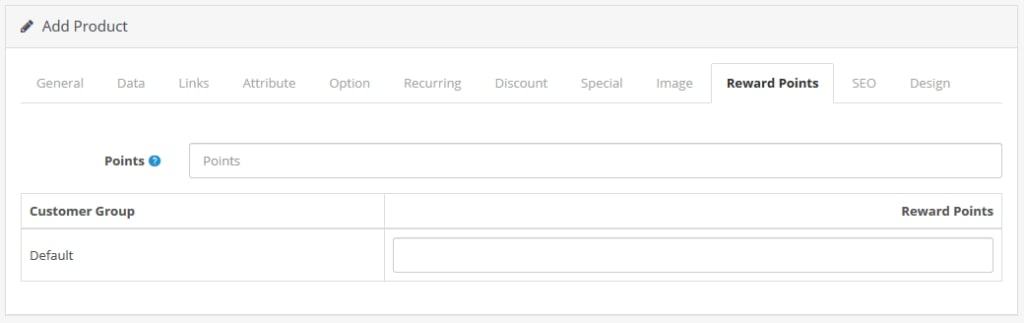
OpenCart has a feature that allows you to assign loyalty points to customers. If you want to use that, here is where you define how many points a buyer gets for purchasing this particular product.
10. Deal With SEO and Design
Under SEO, you find only one option called Keyword.
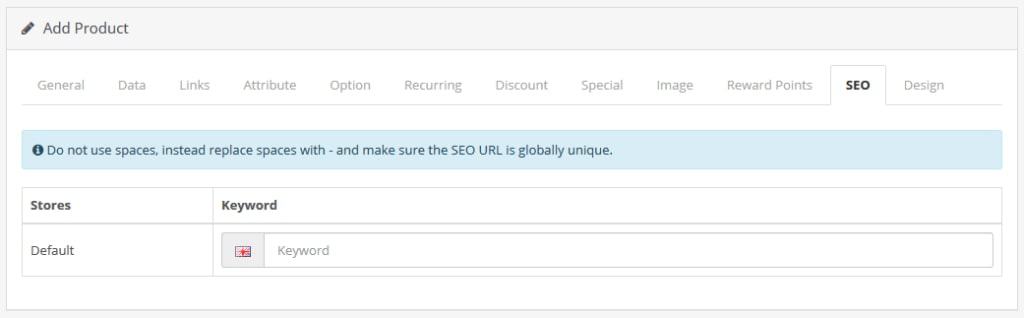
However, it’s an important one because if you activate SEO URLs in the settings, what you enter here will be the end of your product URL.
So, if you input something like apple-iphone-11, the link to the product will be yourshop.com/apple-iphone-11. Of course, this is much better for search engines than a permalink ending in seemingly random numbers and parameters.
Finally, depending on your theme, you might have other layouts available for your pages. If that is the case, you can override the product layout under Design.

11. Save and Publish
Once done with your configuration, use the save symbol in the upper right corner to save the product. If you have set its status to enabled in the Data section, you can then go to the frontend of your shop and find the product there.
To edit it, return to the product list and click the blue button on the right. You can also disable it by changing its status and saving. Well done, you just created your first product!
Other Catalog Options
Here are the other menu items you find under Catalog and what they contain:
- Categories — Order products into categories for better filter options. This also influences menu items. More on that below.
- Recurring Profiles — As already mentioned, this is where you configure recurring payments like subscriptions.
- Filters — Create custom filters your customers can use to refine search.
- Attributes — Manage product attributes on your site.
- Options — Same but for options.
- Manufacturers — Same but for manufacturers.
- Downloads — Manage downloadable products and files on your site.
- Reviews — OpenCart allows you to collect and display customer reviews. You find all options for that here.
- Information — Configure what appears under Information in your shop footer.
6. Change the Menu
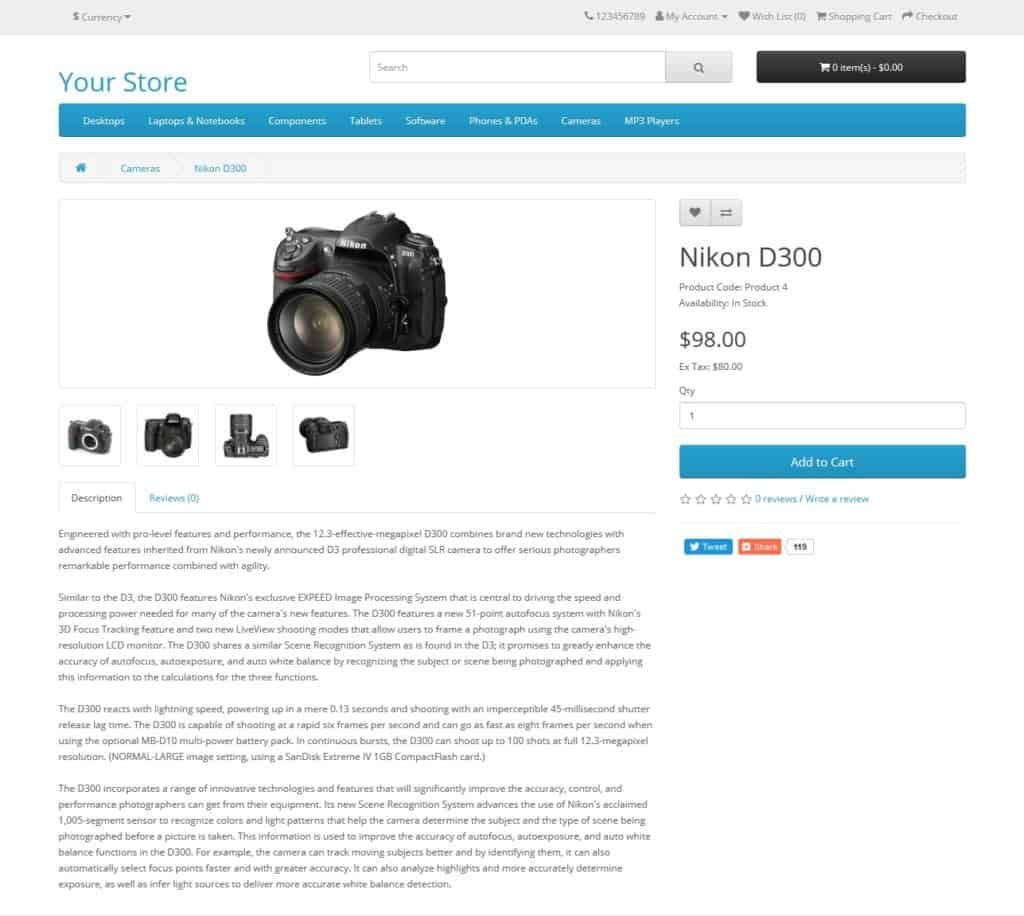
One central thing to do with any website/eCommerce store is changing the navigation menu. By default, OpenCart shows the top categories of your store in it. Let’s go over an example so you understand what we are talking about.
Here’s the current menu in the demo store:

Let’s say we wanted to change Phones & PDAs to Smartphones (because who uses PDAs anymore?), move Cameras to the front, and remove MP3 Players completely. All of these things happen under Catalog > Categories.
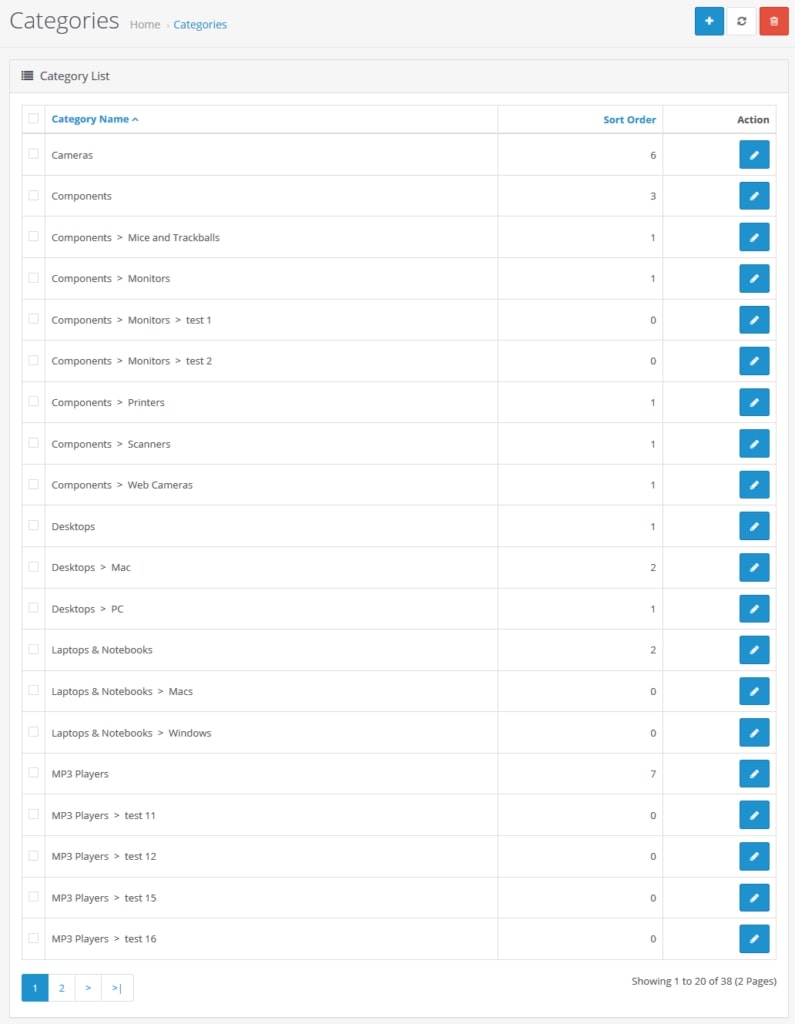
Here, you find a list of the product categories in your shop. First, find Phones & PDAs and click the blue edit button on the right. Here, under General, change both the Category Name and Meta Tag Title to just Smartphones, then save.

Next up, edit the Cameras category, go to Data > Sort Order, change it to 1 or 0, and then save this as well.
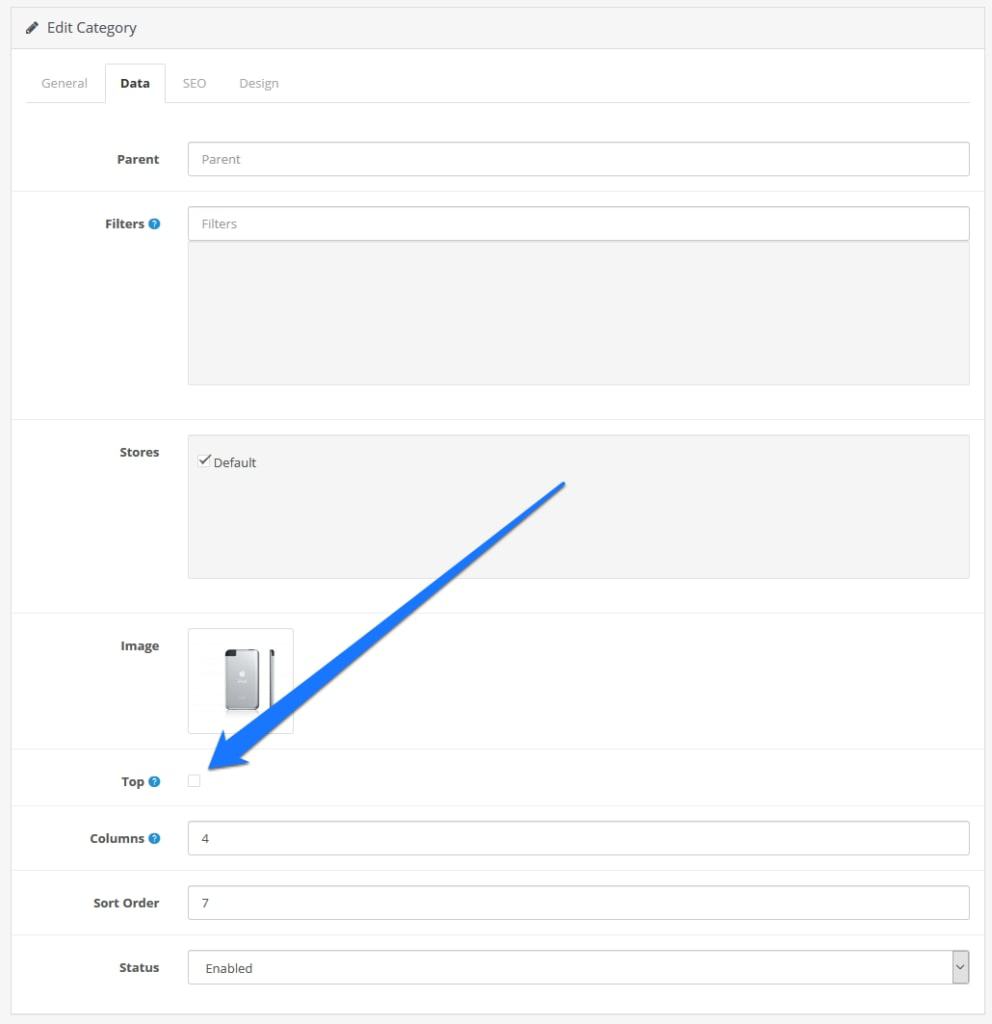
Finally, edit the MP3 Players category, go to Data > Top, uncheck the box, and then save that.
Alternatively, if you are sure you will never ever sell this type of product again, you can also check it in the category list (plus, its descendants), and then delete it with the red button in the upper right corner.
Either way, after all these steps, when you now reload the shop frontend, you will see the changed main menu.

Unfortunately, for more complicated changes such as custom links or links to pages, you need to edit the theme file or use an extension.
Working With Extensions
Alright, it’s time to talk about extensions. Extensions, as the name suggests, allow you to extend the features of your OpenCart store. This can be anything from connecting to Google Analytics over adding backend elements to payment and shipping providers. Let’s see how that helps us.
Modifying Modules
The first thing we will talk about for this is the aforementioned modules. OpenCart comes with a number of core modules.
To access them on your site, go to Extensions > Extensions and choose Modules from the drop-down menu.
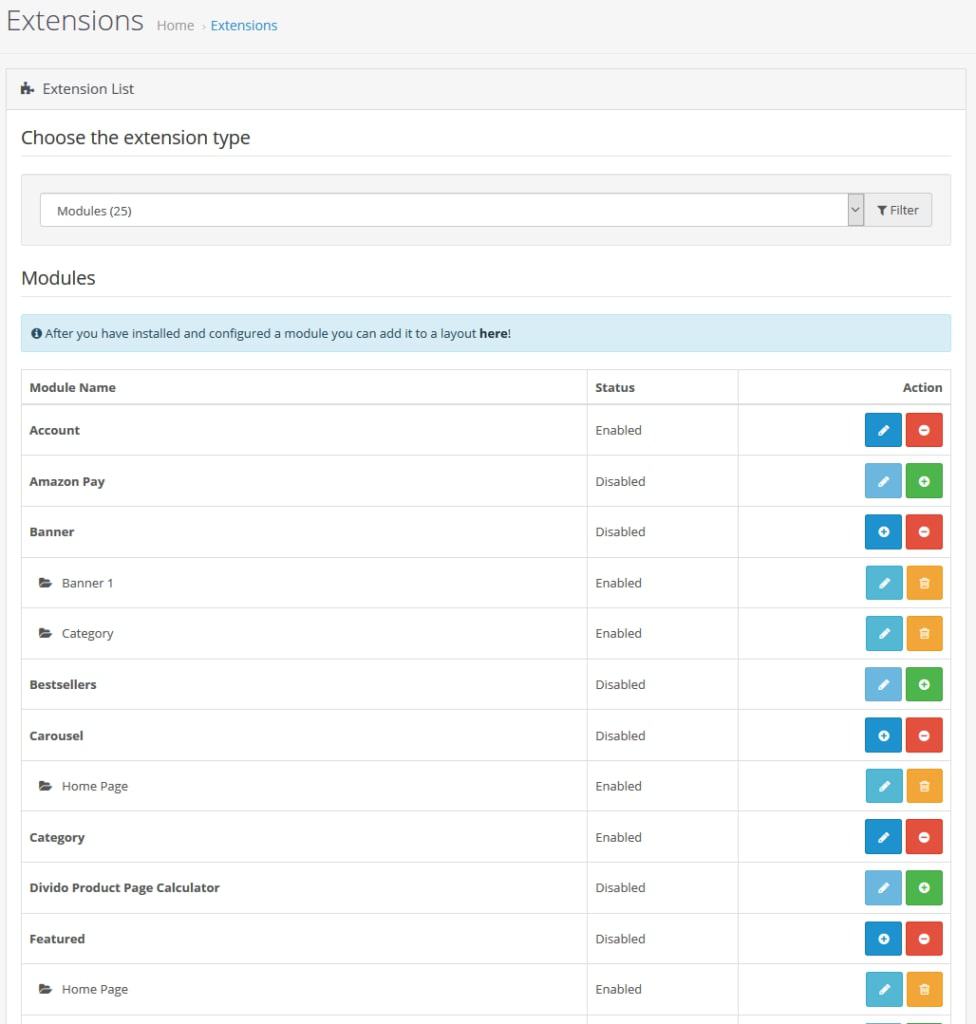
Here, you find all the available options in your shop, as well as whether they are enabled or disabled.
You can also modify them here. For example, if you go to Featured > Home Page and click the edit button, you get to this screen.
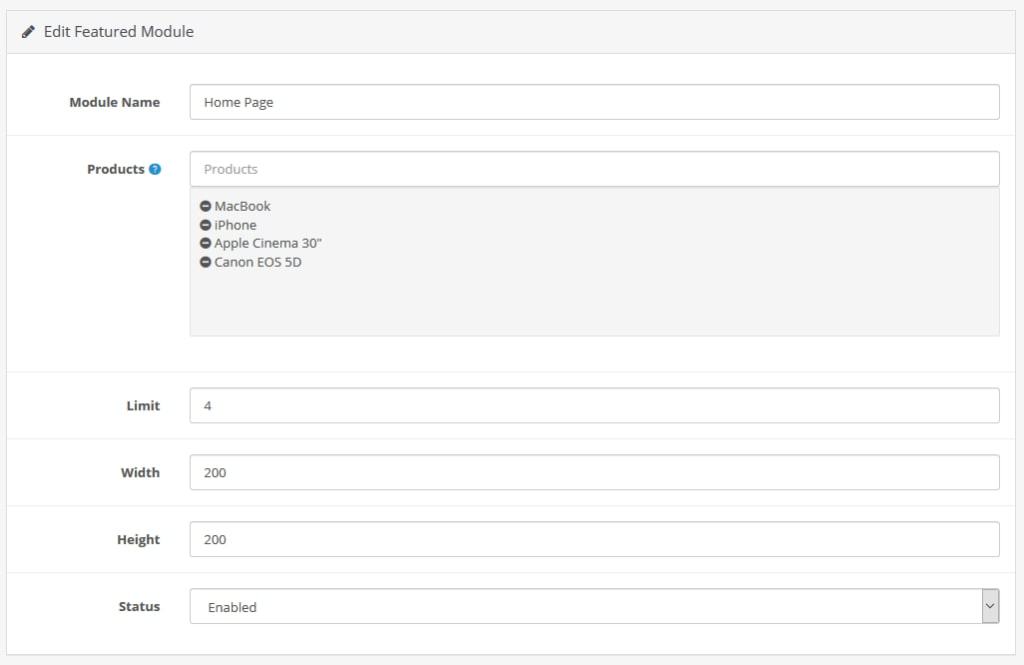
Here, you can easily see that you are able to change the content of the module from the homepage layout. Add more products, alter the number of products shown or the width and height of the module. Save any changes and they will translate to the homepage.
Not so hard to understand, right? The same is true for all other modules, be it slideshows, latest products, checkout buttons, etc.
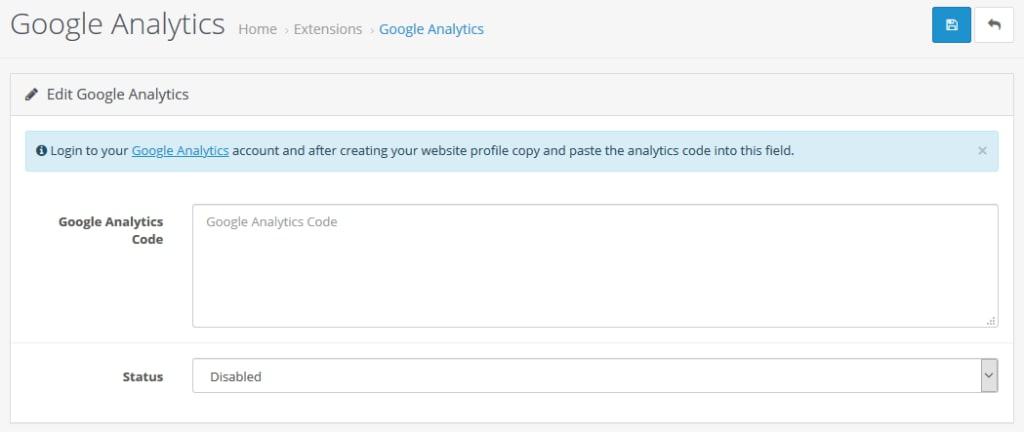
In the following screen, you can then not only add the analytics code to actually use it but also change its status to Enabled. Save and you are done.
If you no longer want to use Google Analytics, you can always click the red Uninstall button to go back to the beginning.
Using OpenCart Reports
In order to know how your shop is performing, OpenCart offers a lot of reports. You find the first one under Sales > Orders.
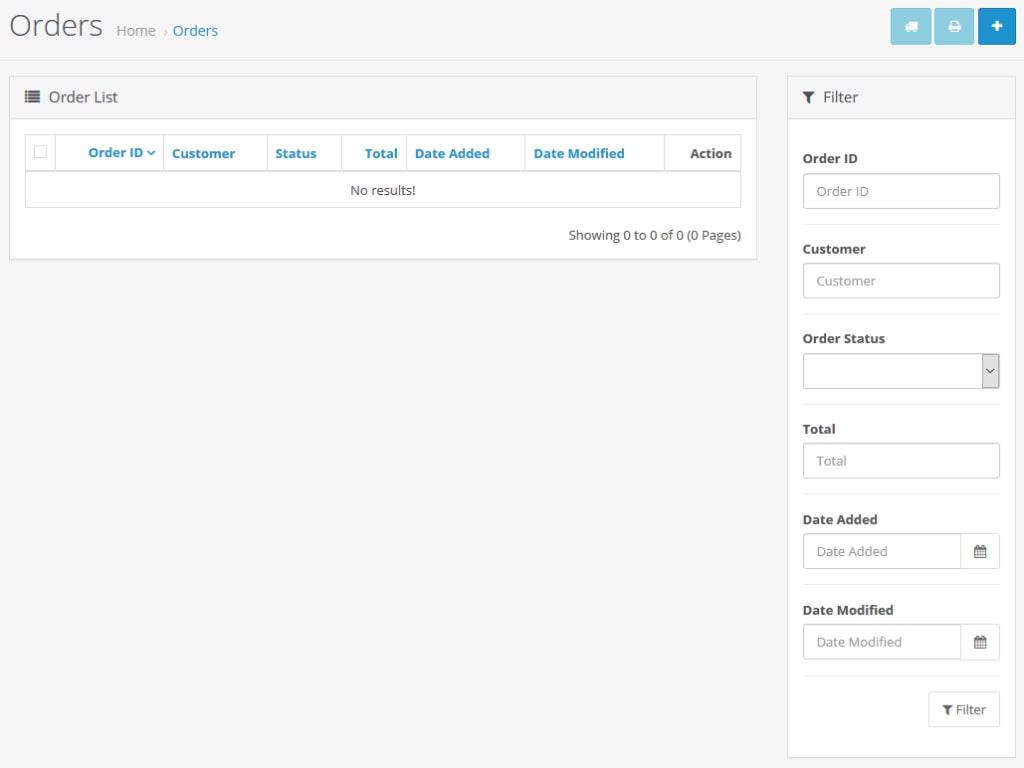
Here, you can see all the orders made on your site, including the customer name, status, and more. You are also able to filter your sales on the right to find individual orders, those with a certain status, or made during a certain time.
In addition, you are able to modify or update orders manually if necessary to change the payment, shipping, and else. The same for regularly billed products under Recurring Orders.
The real reporting, however, happens under Reports > Reports.

Here, you have access to a multitude of information via the drop-down menu. From transactions, orders, taxes to shipping, returns, and products viewed or purchased – there is very little you can’t find out about your shop here.
In addition, check live stats for who is visiting your site right now via Reports > Who’s Online.
The Customers Menu
You can find the information about your customers under the menu item of the same name.
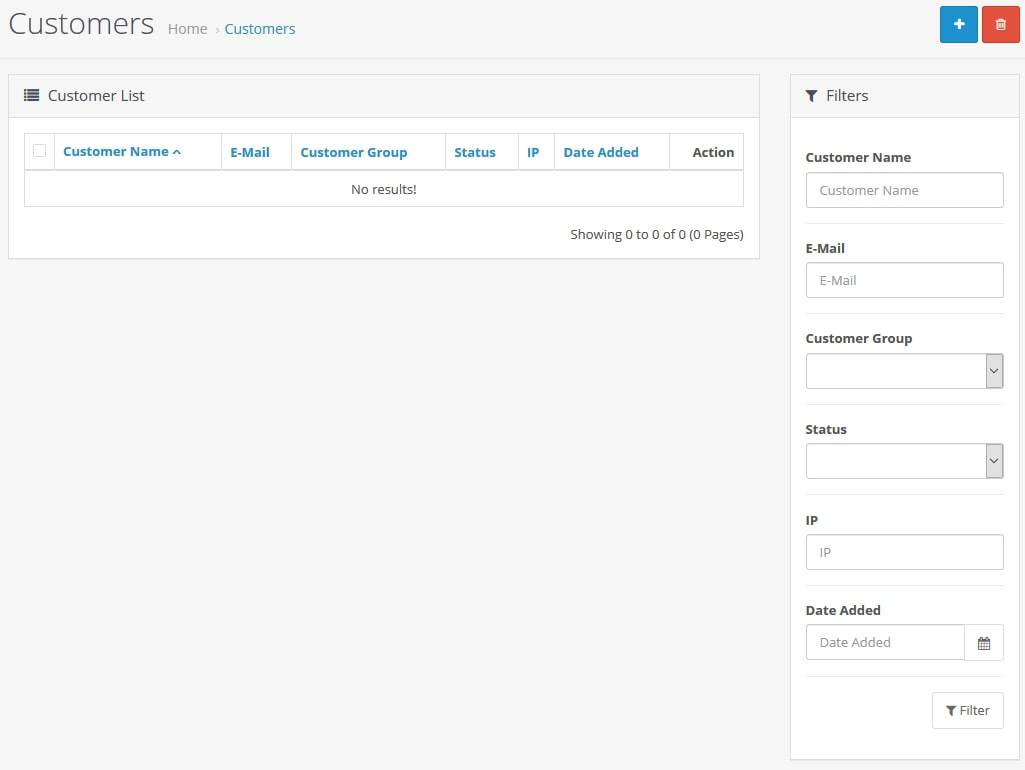
Here, you can see the information from everyone who ever ordered from your shop. The list is searchable in case you need to find someone specific. You can also view their transaction history, give reward points, manage transactions, and more.
Under Customers > Customer Groups you are also able to order your clients into groups. This is useful for marketing purposes, such as to send discounts or specials to certain subsections of your customer base. Read more about it in the documentation.
OpenCart Marketing Options
OpenCart comes with a bunch of options to market your store and attract buyers. Let’s go over those now.
Track Marketing Campaigns
One of the most interesting marketing tools in OpenCart is located under Marketing > Marketing.
Here, you are able to create tracking codes for marketing campaigns. For example, you can attach these to links to banners to know how many clicks are coming in from which of your campaigns.
Simply click the plus icon in the upper right and fill out the form.
The tracking code is created automatically but you can also change it to something else.
Coupons
Naturally, as an eCommerce solution, OpenCart lets you create coupons to give customers discounts. Just as naturally, you find them under Marketing > Coupons.
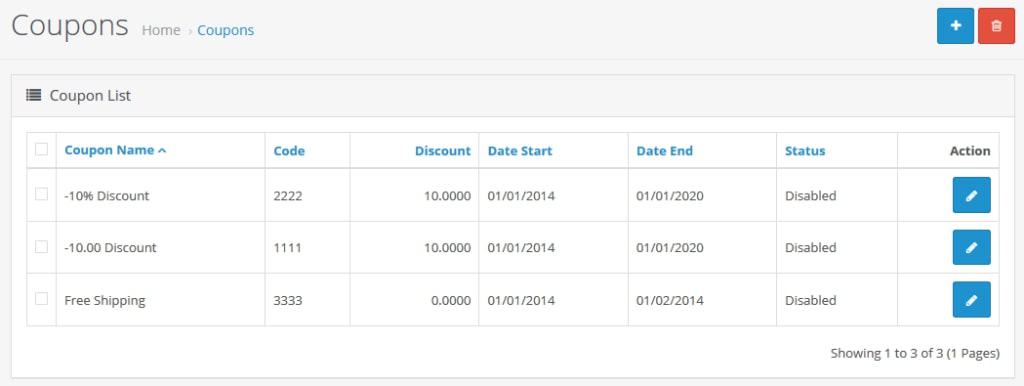
Here, you find a list of all the coupons present on your site as well as the discount they offer, validity, and whether they are currently active. If you create a new one or click the Edit button for an existing coupon, you get to this page.
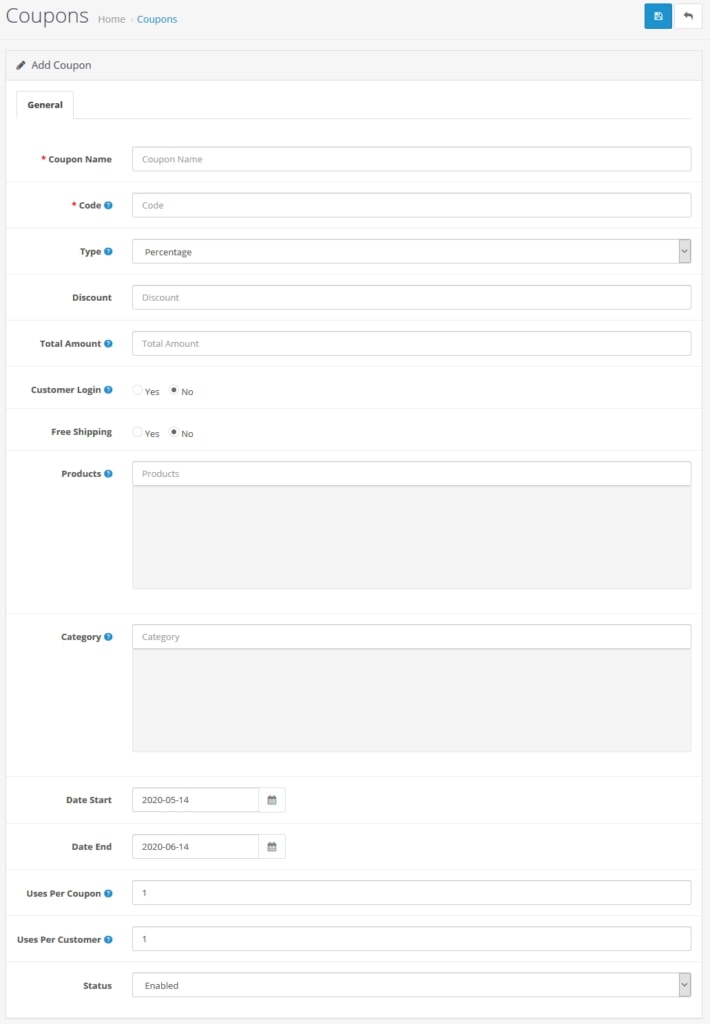
Everything is pretty self-explanatory. Add a coupon name and the code customers have to enter to use it, choose a fixed or percentage discount, and how much it takes off the price.
Then, determine how much a customer has to purchase to use it, whether they need to be logged in, or can use the discount as a guest. Setting Free Shipping to Yes gives customers free shipping for using the coupon.
Add the products for which it applies, a start and end date, how many total uses of the coupon are allowed, and how many per one customer.
When everything is to your wishes, set it to Enabled and save. Easy peasy. More information here.
In addition to coupons, you can also create one-time-use gift vouchers under Sales > Gift Vouchers and send them from right inside your shop. They even come with configurable themes!
Email Marketing
In addition to the above, OpenCart also comes with built-in email marketing, which you find under Marketing > Mail.
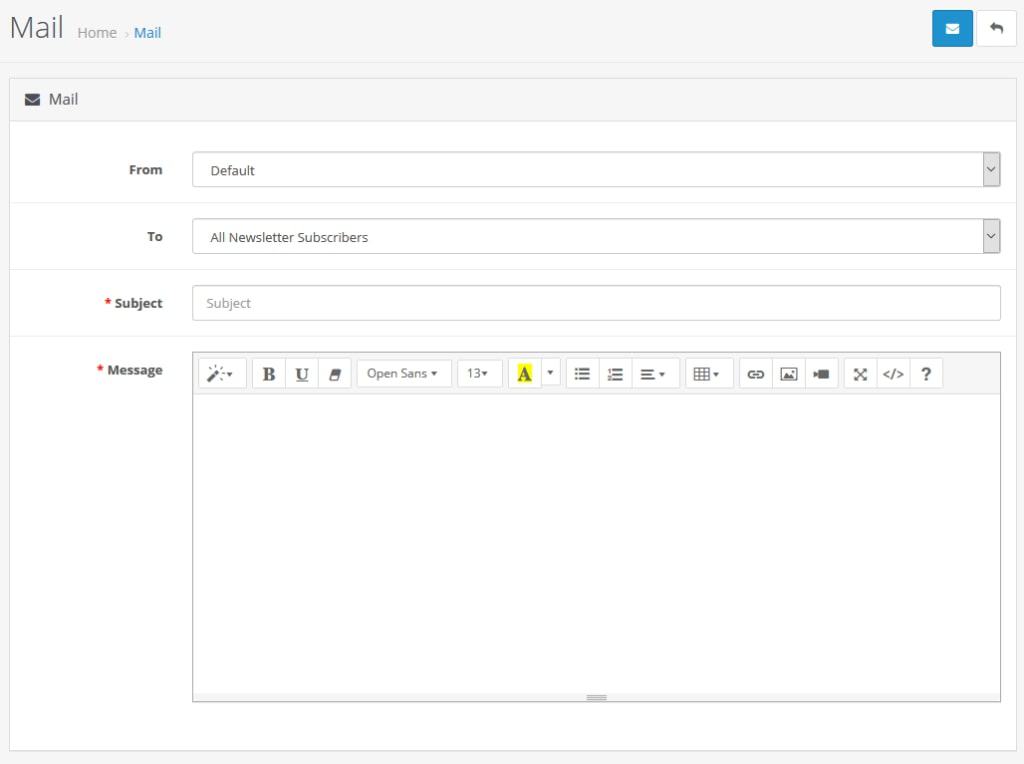
You can define groups of recipients under the aforementioned customer groups menu. Pick who to send your message to, add a subject line, and content in the editor below. Make sure to make use of the formatting options and multimedia!
When ready, send it with the blue button in the upper right corner.
System Configuration
As the last part of this OpenCart tutorial, we will look at the settings. The eCommerce platform offers a multitude of options to configure your shop.
Settings
Under System > Settings you can configure basic information of your store. To change it, you need to click the edit button behind your shop’s name in the list.
This extra step is necessary because, as mentioned, OpenCart can run several shops from one installation. When you do click on it, you get here:
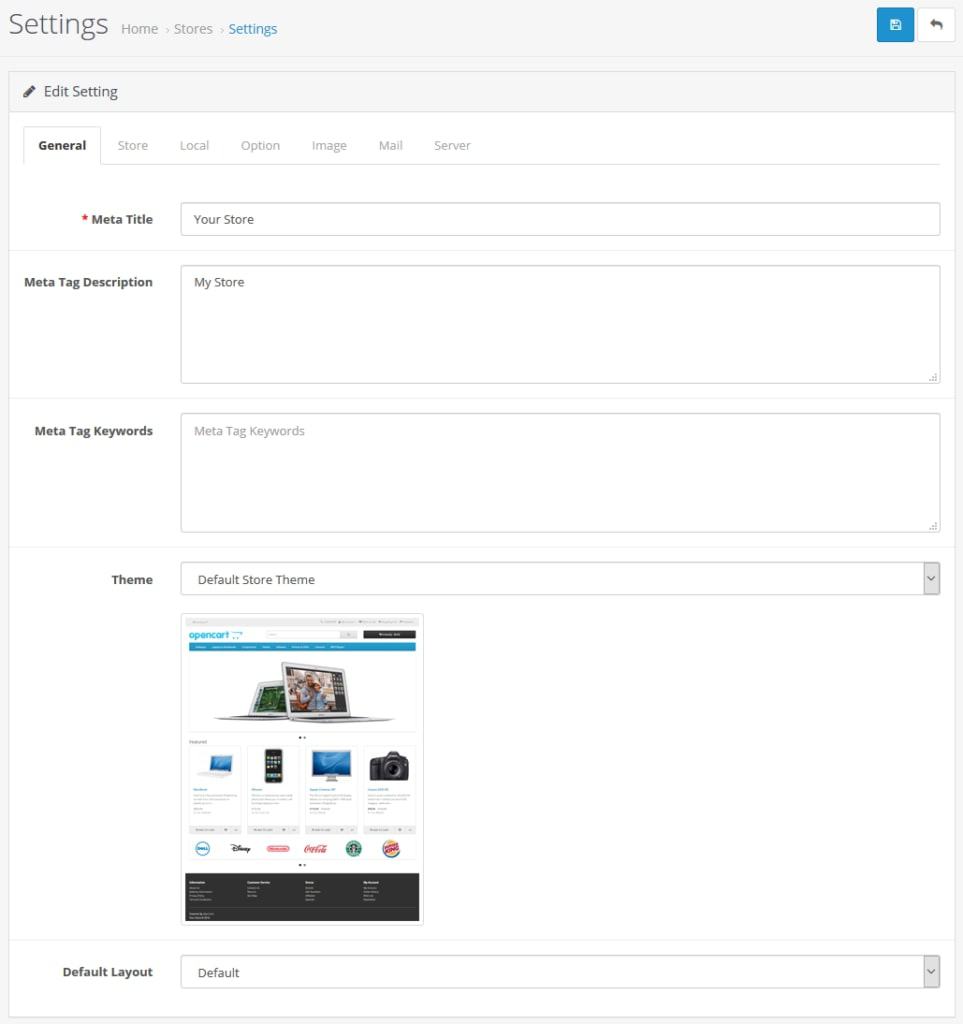
Here’s what the different tabs contain:
- General — Set a meta title and description (crucial for search engine appearance), keywords (forget about this), change the template, and select your default layout.
- Store — Set up the name of the store and its owner as well as the address, email, phone and fax number, image, opening times, and comments to the customer. All of this shows up on the Contact Us page and is used as the sender for emails sent from the shop.
- Local — Here, you configure everything to do with your shop’s locality like country of residence, shop and admin language, currency, and measurements.
- Option — Lots of display options here for products, reviews, vouchers, taxes, account, checkout, and much more. Don’t skip this!
- Image — Set up a store logo and favicon.
- Mail — Configure how email is handled on your shop as well as email alerts you want to receive.
- Server — This is where you can set your store to maintenance mode, configure pretty permalinks, web crawler permissions, use of Gzip compression, security settings (SSL, passwords, etc.), allowed upload formats and size, as well as error handling. This is also very important!
Users
As you can imagine, here, you configure everything to do with users on your site. You can create new ones as well as set up user groups and permissions.
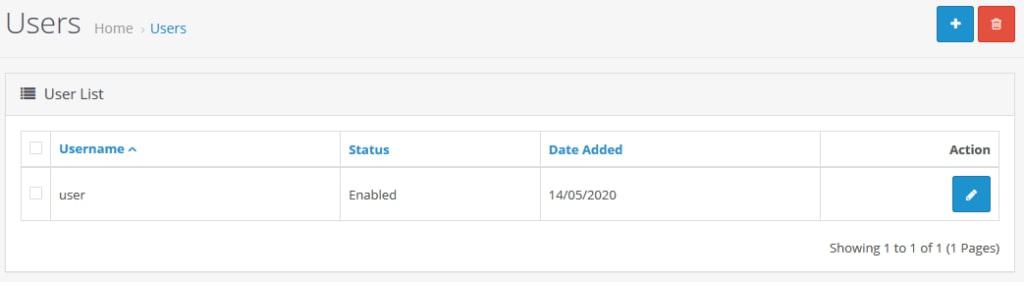
That way, you are able to control who on your site can do what so you don’t have to worry about people messing with settings they shouldn’t. It also contains options to set up API access to your shop.
Localization
This part is all about additional shops, language, currencies, and other matters of offering your shop to customers from all over the world.
- Store Locations — If you have physical locations along with your online shop, here is where you can control everything to do with them.
- Languages — Add new languages to your site (incl. the frontend). This is made easier by language packs. New options will show up at the top of the shop screen.
- Currencies — You can offer products in more currencies. Configure them here. These will also appear in the top bar of the shop.
- Stock Statuses — Configure statuses that customers will see for products that are out of stock.
- Order Statuses — Same but for order statuses displayed to customers.
- Returns — Same as above but for return status, return actions, and reasons that customers can select for sending back merchandise.
- Countries — Configure countries available for shipping, address format, and more.
- Zones — Configure zones inside countries for shipping and tax purposes.
- Geo Zones — Same but for geological zones that can contain several countries or areas (e.g. US West Coast).
- Taxes — Configure tax classes and tax rates for your products.
- Length Classes — Available length measurements in your shop.
- Weight Classes — Same but for weight.
Maintenance
Finally, you have the Maintenance menu:
- Backup / Restore — Back up and restore the shop database.
- Uploads — Files uploaded to OpenCart (images, PDF, etc.), search, and filter as needed.
- Error logs — Any errors in your shop will be documented here.
OpenCart: A Complex But Powerful eCommerce Solution
OpenCart is a feature-rich option for creating online shops. It has a wide range of configuration settings and offers everything you need to build a shop. It’s also free to use and widely extendable.
In terms of a user group, it’s probably best for intermediate users with some technical skills like HTML and PHP. The usage is not super straightforward and could be easier in many places. Also, you are likely to run into the need to make changes to files and code, which is beyond the skills of absolute beginners.
The documentation could also be better. It’s sometimes incomplete or incorrect, meaning you need to use the forums from time to time.
However, aside from that, OpenCart is a good solution to get your online shop up and running quickly. Use this tutorial if you want to do so.